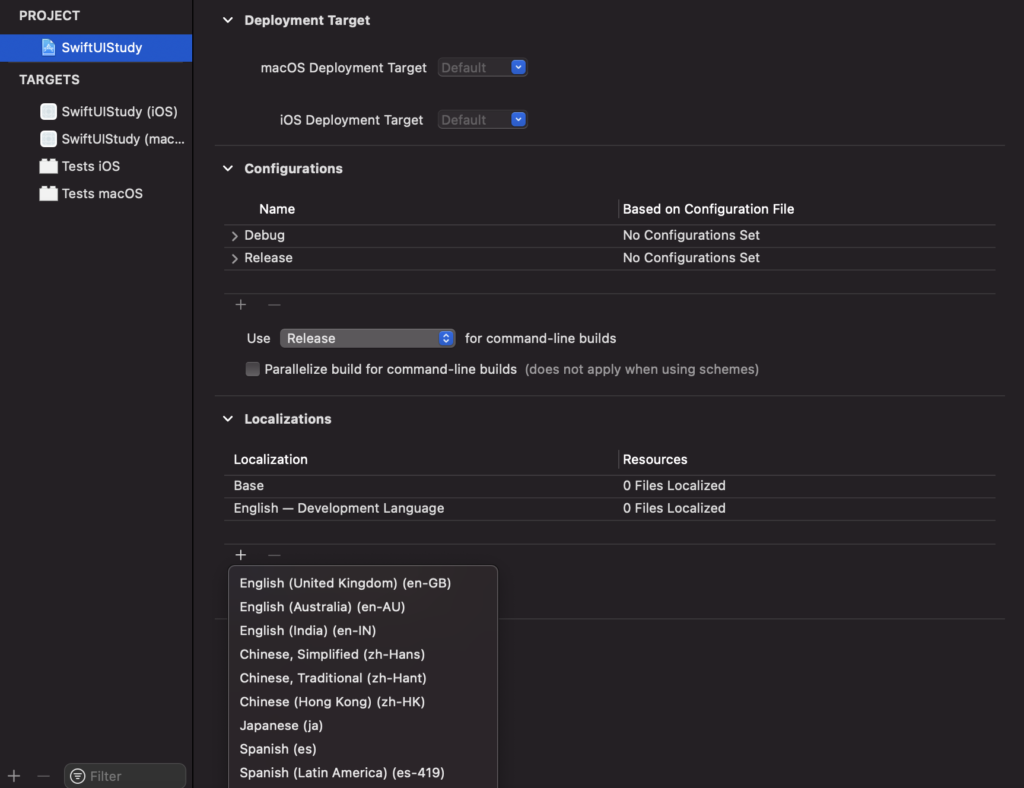
XcodeのProjectのinfoタブにあるLocalizationにjapaneseを追加します。
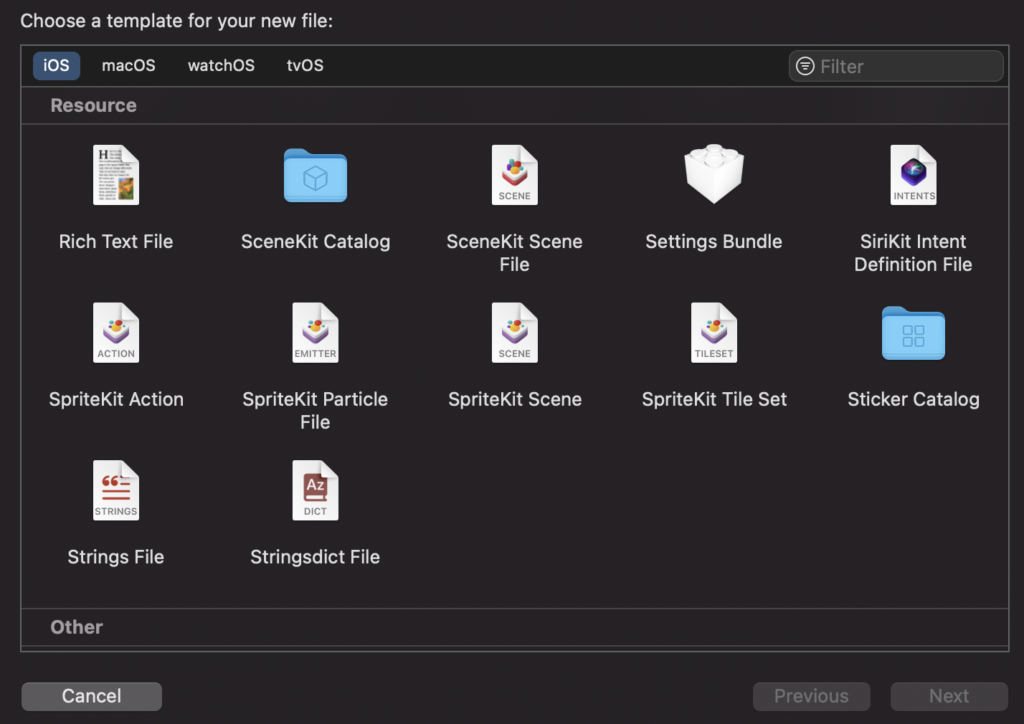
次にFile->New->FileのResourceカテゴリにあるStrings Fileを作成します。
FileNameはLocalizableとします。
※違う名前にすると設定した文字列を取得する際にテーブル名を指定する必要があります。
https://developer.apple.com/documentation/foundation/nslocalizedstring
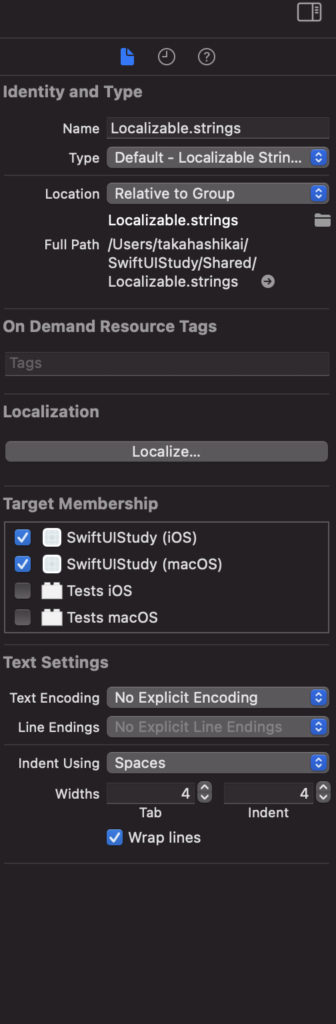
作成したLocalizable.stringsを選択してInspectorにあるLocalize…ボタンを押下します。
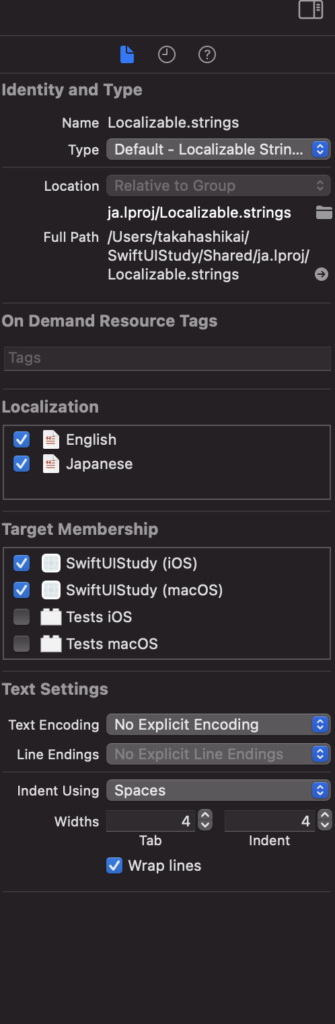
その後、japaneseとenglishのチェックボックスにチェックをします。
ローカライズ対応
Localizable.stringsに対応したい文字を設定します。
※区切り文字としてセミコロンが必要なので注意
"test" = "テスト";"test" = "Test";あとはNSLocalizedStringで呼び出すだけです。
NSLocalizedString("test", comment:"" )
//以下でもローカライズされた文字に変換はされますが...
Text("test")
//NSLocalizedStringを直接埋め込むのはあまり良くないかもなので中継を作った方が良いかも知れないです
enum SampleStrings{
    static var Test: String{
        NSLocalizedString("test" , comment: "test")
    }
}
Text(SampleStrings.Test)